If you wear a hair system, finding the right glue to secure it is essential. From bonding adhesives to scalp protectors, there are many options on the market today. But which one is best for your particular needs?
In this article, we’ll examine some of the top glues available for hair systems and discuss how they work. We’ll also cover topics like how long the glue lasts and tips for proper application. With this information in hand, you can make an informed decision about which adhesive is best suited to your unique situation. So let’s get started!
Best Glue For Hair Systems Quick Guide
- Scalp prep: Before attaching your hair system, it’s important to clean and prepare your scalp to ensure a secure bond. Follow the step-by-step instructions below carefully to ensure proper attachment to your hair system.
- Use the best glue for your hair system and attach it: You should only attach your hair system after completing the scalp preparation.
Best Glue For Hair Systems Application Steps
Step 1: Remove adhesive residue traces
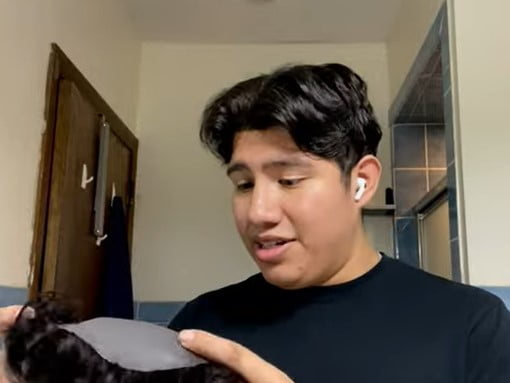
To remove the adhesive residue from your hair system, first use a wet towel or cloth to wipe the area around your hair or head. Then, use an adhesive remover and paper towel to vigorously rub the perimeter until the residue is removed.
For optimal results, apply a sufficient amount of oil-based adhesive remover on your scalp, let it sit, and then wipe it off with a towel.
Step 2: Wash
Proceed to wash your head area (perimeter) at least twice. Use soap and scrub the perimeter area thoroughly, preferably with an exfoliating glove. Rinse and repeat this process 4-5 times to ensure the complete removal of any hair system adhesive residue.
Step 3: Dry
After washing, make sure to use a towel and/or blow dryer to remove all excess moisture from your perimeter area, hair, and scalp.
We suggest removing or trimming any hair or stubble from the bonding area, as bonding the system onto natural baby hairs may result in shorter wear time.
Step 4: Clean
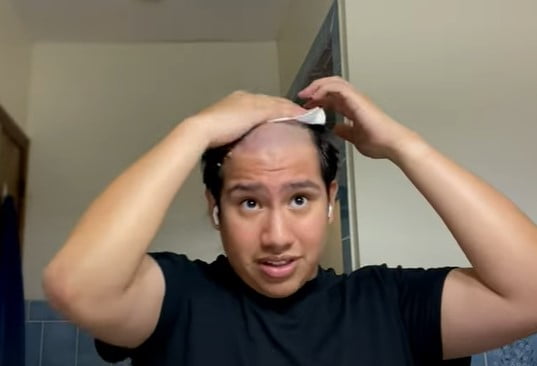
To ensure optimal results, clean the bonding area with an alcohol-based cleanser and cotton wool. It is recommended that you repeat this process 2-3 times until the area is completely clean.
Step 5: Locating
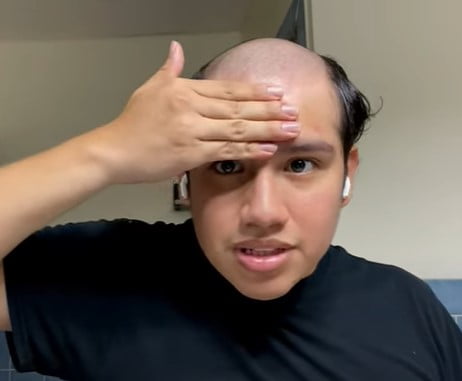
Make a few dots around the edge of the lacing system using a light-colored eyebrow pencil to trace its contour. This information is crucial. It is recommended that you position the hairline of your hair system four fingers above your eyebrows.
Avoid placing the front of the hair system on your frown line as hair does not naturally grow from that area.
Step 6: Apply sealant
To protect your skin and help the tape or adhesive stick better, apply a waterproof sealant. Just be sure to let the Scalp Protector dry fully before moving on to the next step.
Step 7: Apply Adhesive
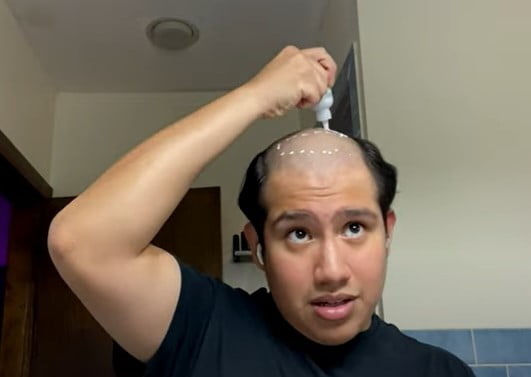
To attach the hairpiece, apply two thin coats of adhesive to your scalp’s hairline with a 5-minute gap between each coat. Brush the adhesive down to the dots but avoid covering them. While applying the liquid adhesive, ensure that you use even and thin coats and apply it horizontally and vertically.
Step 8: Allow adhesive to dry
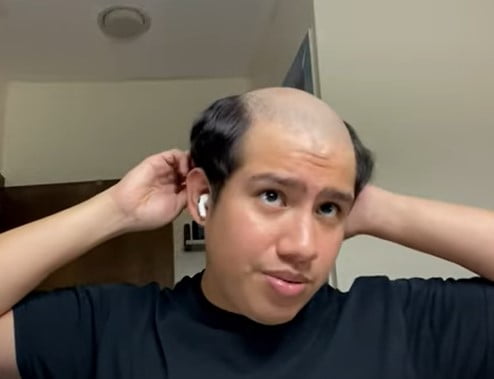
For a strong bond with acrylic adhesives like Ultra Hold, wait for 10-15 minutes after applying the second coat to allow proper evaporation of solvents. With silicone adhesives like Secure, wait for around 5-8 minutes after applying the second coat.
Step 9: Attach the hair system
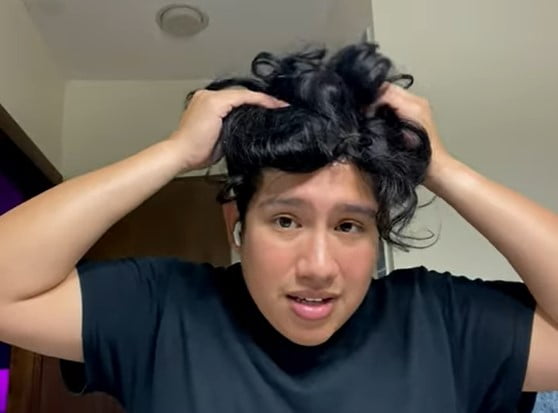
If you are using an acrylic adhesive and the adhesive has dried tacky, you should start by applying a scalp protector directly to the perimeter of the lace. However, this step is not necessary if you are using a silicone adhesive.
After applying the protector or bond to the lace, proceed with attaching it to the rest of the perimeter area. Press firmly on the applied hair to the scalp and hold it for 10 seconds.
Types of Best Glue For Hair Systems
Silicone Glue For Hair Systems
Silicone adhesives have the ability to bond with various materials and exhibit excellent performance even in high-temperature conditions.
Acrylic Glue For Hair Systems
Acrylic glue has a much faster curing time than silicone glue. Additionally, it is transparent, water resistant, and hypoallergenic, making it safe to use on the scalp.
Common Questions About Best Glue For Hair Systems
Should you touch your hair system after showering or working out?
It’s normal for the bond to feel weaker after showering or working out because the heat and moisture can soften it. However, your hair system is still attached securely. Avoid touching it and as your body cools down, the bond will harden once again.
How do you clean dust stuck in the front edge of a lace unit?
Over, dust can stick to the hair system adhesive at the front edge of lace units and become visible. To clean this area, it’s best to do it right after a shower when the adhesive is pliable. Get some Adjust-a-Bond and spray it on a folded tissue.
Hold back your hair system with one hand and wipe the lace edge with the saturated tissue using the other hand. This trick will help keep your lace front edge invisible all the time.
What are appropriate drying times when using the best glue for hair systems?
The drying time of liquid adhesives depends on three factors: air temperature, humidity levels, and thickness of application. Additionally, individual body chemistry, such as having oily skin or sweating heavily, should be considered.
Water-based hairpiece adhesives are easy to determine when they are dry because they turn from white to clear. Solvent-based adhesives do not have this color change.
To speed up the drying time of liquid bonding (especially solvent-based ones), it is suggested to use a hair dryer. However, hair replacement systems can be damaged by high temperatures, so make sure to set the hair dryer on a lower heat setting.
Final Thoughts
Finding the best glue for hair systems can be a daunting task, but it doesn’t have to be. With proper research and consideration of your own unique needs, you can find the perfect adhesive that will keep your hair system secure and in place all day long. From water-based glues to medical-grade adhesives, there are many options available on the market today.
Hopefully, this article has given you some insight into what type of glue would work best for your particular situation so that you can make an informed decision about which product is right for you!

